How to Choose a CPU Cooler for Your PC: Steps & Checklist
Case & Components
Once you’ve settled on the processor (CPU) and graphics card for your next PC, it’s time to think about cooling. In essence, you want one that delivers enough cooling for your CPU to handle your workloads, should be compatible with your CPU, and should also physically fit within your case.
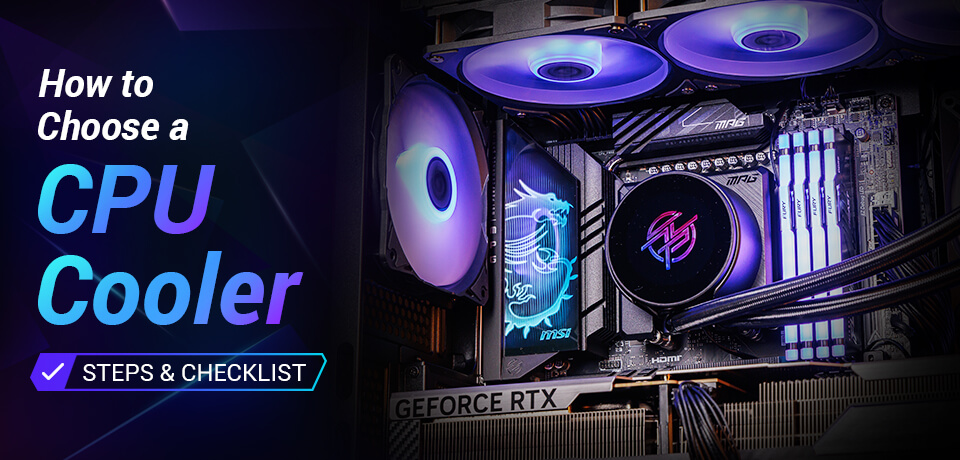
We’ll be going over all the common pitfalls and factors you should consider before settling on a pick in the article below. One side note – if you’re weighing your options between air cooling and liquid cooling, we go into much more detail in our dedicated article here.
So, first up, how much ‘cooling’ does your CPU need?
Step 1: Understanding TDP and a CPU’s Thermal Needs: What does it mean?
TDP (Thermal Design Power) is often considered ‘misleading’ by enthusiasts because the number no longer reflects the real-world power consumption OR heat output you can expect from a processor.
First, a few misconceptions to clear so you can understand TDP –
- TDP is NOT power consumption: TDP usually refers to the amount of heat that needs to be pulled away from a chip during a ‘typical operation.’ This typical operation varies from brand to brand.
- TDPs from different brands aren’t comparable: Both Intel and AMD calculate TDPs in their own way, so a CPU with 65W TDP from both brands won’t have the same thermal behavior across many workloads.
So, if you can’t depend on the TDP number to get an accurate read on what sort of cooling your new processor will need, what do you do?
One of the best ways to get this info is by checking real-world testing for these processors to see what sort of thermal behavior they exhibit under different types of workloads and boost algorithms.
But if you want a recommended starting point, here’s a table that’ll give you a better idea:
CPU cooling demand
Typical scenario
Recommended starting point
Basic
Entry-level CPU, light everyday use, default power settings
Compact single-tower air cooler. A bundled stock cooler may also be sufficient if supported.
Moderate
Mainstream gaming or productivity PC
Mainstream gaming or productivity PC 120 mm or 140 mm tower air cooler, or a 240 mm AIO cooler
High
Higher-power CPU or sustained gaming and productivity workloads
Dual-tower air cooler, or a 240 mm to 360 mm AIO cooler
Very high
Flagship CPU, unrestricted power settings, heavy sustained workloads, or overclocking
High-end dual-tower air cooler, or a 360 mm AIO cooler
For mid-range processors, you’ll usually want high-performance air cooling or mid-range liquid cooling if you prefer that aesthetic. On the other hand, if you’re running high-end CPUs like a Ryzen 9 or an Intel Core 9, you’ll want excellent liquid cooling or very high-end, dual-tower air coolers if you prefer air coolers.
While overspending on your cooler isn’t ideal because you can use that budget towards more powerful hardware, it can make sense if you plan to upgrade to a higher tier of CPU soon and want to avoid that cabling and installation all over again.
Step 2: Socket Compatibility: Is your CPU cooler compatible with your CPU?
Now that you’ve settled on a tier or class of CPU cooler to buy, the next step is to find models that are compatible with your CPU socket.
Although there are a few universally-compatible options like our very own range that feature a UNI Bracket for seamless compatibility across Intel and AMD, you should confirm this information in the specifications section of your CPU cooler’s product page to make sure.
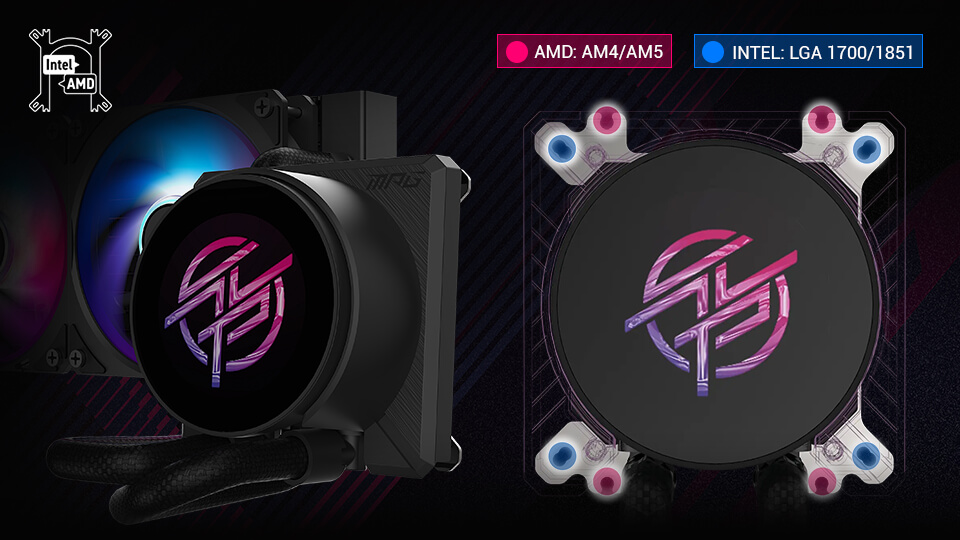
Step 3: Case Compatibility and Clearance: Does your CPU Cooler fit your PC?
Once you’ve confirmed that your CPU cooler is compatible with your CPU socket, the next hurdle is your case. Due to the variety of case and cooler sizes, there are many combinations that just won’t work together due to size constraints.
To make sure this doesn’t happen with your build, you’ll want to check on a few specifications.
Air Cooler Clearance: Height Matters
Since Air Coolers generally feature a radiator in a ‘tower’ style design, you’ll find that the height of your cooler can overshoot many PC cases on shelves today. But there’s an easy way to avoid this before you buy!
First, head to the product page of your PC case and look for an item that gives you a ‘CPU cooler height clearance’ or a ‘maximum height’ measurement.
Now, your CPU cooler’s page should have a similar item that tells you its height. This is typically labeled as radiator dimensions, case clearance, or radiator height. You should also be able to see its dimensions on the product page, which tells you the minimum height you’ll need to accommodate.
If your case does fit your air cooler, next you can check for RAM or memory clearance.
This one is more relevant for dual tower coolers as they take up a lot of space around the socket. So, the radiator can often end up blocking the RAM slot, which makes it difficult or impossible to install taller memory modules.
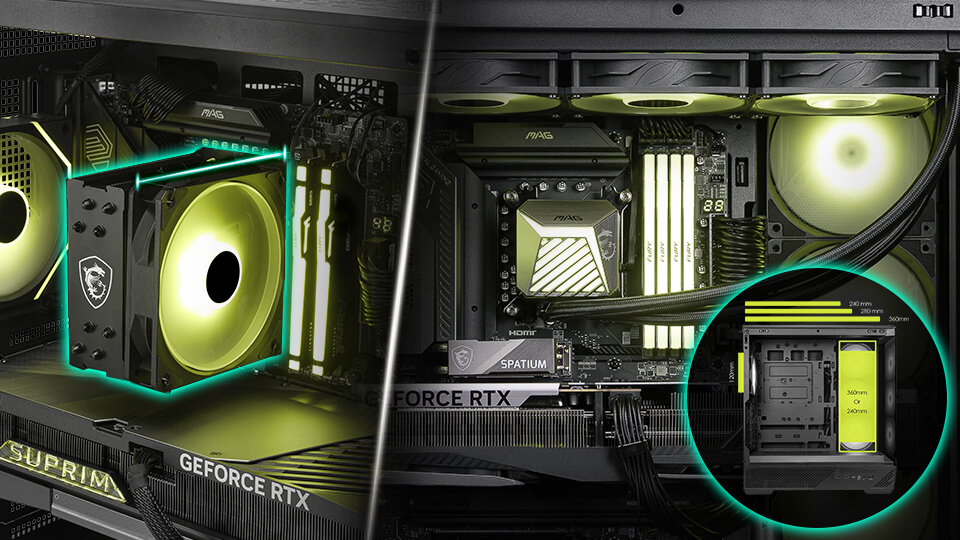
Liquid Cooler Clearance: Radiator Matters
While air coolers have their heatsinks sitting on the socket, liquid coolers relegate them to a separate radiator block. So, fitting the cooler on your socket is the easy part. Accommodating the radiator is the issue.
Thankfully, most modern PC cases list radiator compatibility upfront and your CPU cooler’s specifications page should list a radiator size (240mm, 360mm, etc.) along with dimensions. So, make sure your case can accommodate your cooler’s radiator by referring to these dimensions.
Which CPU Cooler Goes with YOUR PC?
Now that we have pesky compatibility issues out of the way, you can get to the more fun aspects of picking a cooler: lighting, design, aesthetics, colors, and more!
In addition to these factors, you might also want to pay attention to features that make your life easier from a maintenance and installation POV. There’s no reason to fear a simple CPU swap or replacing your thermal paste when you need to, as long as you opt for the right features.
Here are a couple from MSI’s EZ DIY features on many of our CPU coolers that we’ve designed specifically to make PC building easier than ever –
- UNI Bracket: Gives you a single mounting kit for both modern Intel and AMD platforms. This ensures you never have to pick the ‘right’ bracket when installing and won’t need to stash the other one safely somewhere in case you switch platforms.
- EZ Conn-connector: Available on select MSI liquid coolers, this exclusive cable consolidation system cuts down fan and pump connections to just two cables, thanks to hidden daisy-chain connectors. This makes cable management so much easier and makes your build clutter-free without any hassle.
If you want a quick recommendation, you can refer to these options from our stable:
Product
Cooler format
Key features
Key features
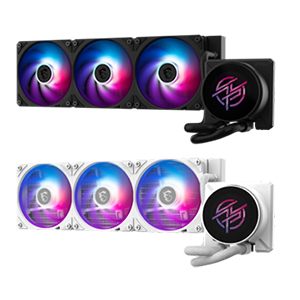
360mm AIO cooler with LCD
Premium or showcase builds
- 2.1" LCD: 2.1-inch round IPS screen
- CYCLOBLADE 7: Focuses airflow and reduces noise.
- Pre-installed Fans: Saves installation time and enhances the assembly experience.
- UNI Bracket: Easy installation: Pre-installed UNI Bracket (1700/1851/AM4/AM5)
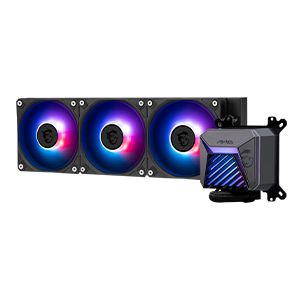
360mm AIO cooler
Performance-focused builds and sustained workloads
- CycloBlade Design: Focuses airflow and reduces noise.
- ARGB GEN2: Customize the perfect lighting effects for you through MSI CENTER.
- Pre-installed Fans: Saves installation time and enhances the assembly experience.
- Easy installation: Pre-installed UNI Bracket (1700/1851/AM4/AM5)
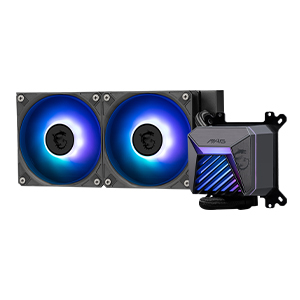
240mm AIO cooler
Mainstream gaming builds or compact cases
- CycloBlade Design: Focuses airflow and reduces noise.
- ARGB GEN2: Customize the perfect lighting effects for you through MSI CENTER.
- Pre-installed Fans: Saves installation time and enhances the assembly experience.
- Easy installation: Pre-installed UNI Bracket (1700/1851/AM4/AM5)
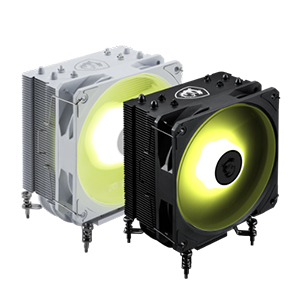
Air cooler
Builders who prefer a simpler air-cooling setup
- CycloBlade7 Design: Focuses airflow and reduces noise.
- ARGB: Customize the perfect lighting effects for you through MSI CENTER.
Conclusion: CPU Cooler Checklist
If you need a convenient checklist to tick off what you should keep in mind when grabbing your next CPU cooler, we’ve come up with something that’ll save time, while still ensuring you have all your bases covered for your next PC build:
- Account for peak power draw: Size for real-world boost power (Intel PL2, for example), and not base TDP – especially for sustained all-core workloads and gaming.
- Compatibility with socket & hardware: Confirm native socket support (AM4/AM5, LGA1700/LGA1851)
- Heatsink height (clearance): Verify cooler height against your case’s maximum CPU cooler height spec.
- RAM clearance: Check memory height to prevent the front fan of your CPU cooler from obstructing memory modules.
- Air cooling vs. Liquid cooling: Choose between simplicity (air) versus top-tier performance, thermal mass, and socket-area clearance (AIO cooler).
- Radiator fit (AIO cooler): Verify chassis radiator support (240/280/360mm) and ensure combined radiator + fan thickness (~52–60mm) clears motherboard VRMs, EPS cables, and RAM.
- Aesthetics: Match colors and style to your PC build and/or preferences.
- Look for Builder-friendly features: Prioritize features like universal brackets, consolidated cabling, etc.
- Budget allocation: Keep your total system budget in mind. Avoid overspending on budget CPUs where money might be better spent on the GPU, CPU, or motherboard.
If you’re new to PC building, we have a comprehensive PC building guide for beginners that contains every bit of information you’d need to get going. But if you’re still in the planning phases, feel free to check out MSI’s EZ PC Builder to get a little help.
Need more design inspiration for your next PC build? Head to our Build for Glory page instead and scroll down to the ‘Setup Inspiration’ section.
Frequently Asked Questions (FAQs)
Is a Stock CPU Cooler Good Enough?
A stock CPU cooler is fine for basic use at default settings for CPUs that come with a bundled cooler. However, an aftermarket CPU cooler is generally the better choice for gaming, as it can sustain CPU-heavy workloads for longer while being quieter and giving you additional thermal headroom for more aggressive boost behavior. Make sure you check CPU socket support and case clearance before you decide on one, though.
What are some common tips to install CPU Coolers correctly?
One of the most common mistakes is failing to remove the protective sticker from the cold plate (the part that touches your CPU directly). Taking the extra second to recheck when installing your cooler is well worth it.
Should I Use Air Cooling or Liquid Cooling for My CPU?
Air and liquid cooling can both work effectively when the cooler is properly sized for the CPU. Choose air cooling when you prioritize simplicity, typically lower cost, and easier maintenance. Consider an AIO liquid cooler when it provides the cooling capacity, case fit, or aesthetic you prefer. Learn more in our air cooling vs. liquid cooling comparison.
How Do I Install a CPU Cooler?
CPU cooler installation varies by cooler type, CPU socket, and mounting system. In general, install the correct mounting hardware, apply thermal paste if it is not pre-applied, secure the cooler evenly, and connect the fan or pump cables. Make sure you always follow the cooler’s official manual and check out the MSI PC Building Guide for more help.